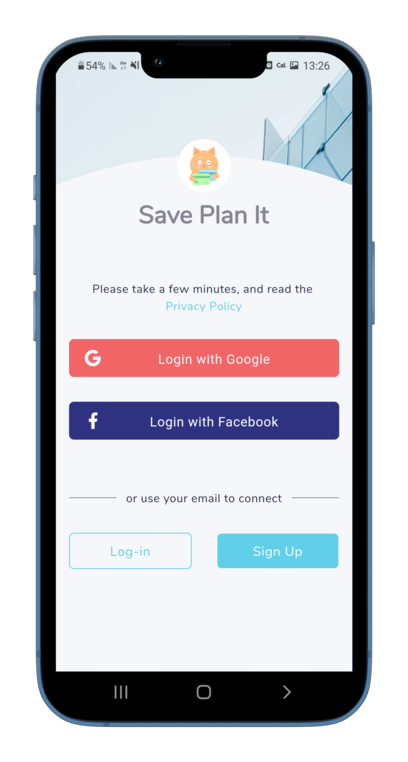
The opening screen allows registration in two ways:
- Sign up with Facebook or Google - Click on the desired social network button, and you're in.
- Register with Email and Password - Click "Sign Up", fill in the desired fields, and you're in.
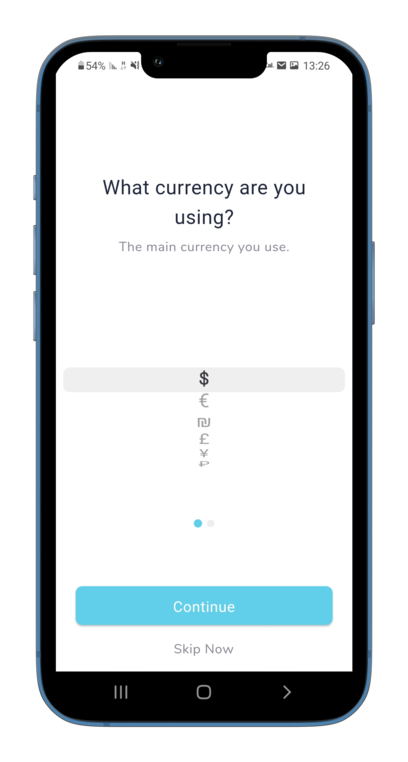
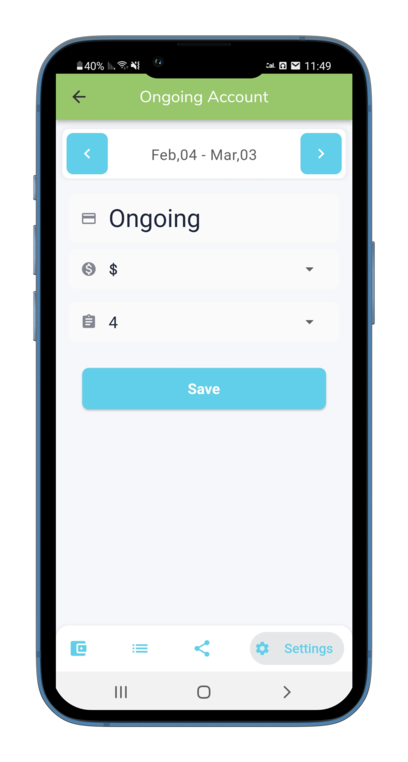
Then:
- Choose the currency
- Choose the day of the month in which the financial cycle begins.
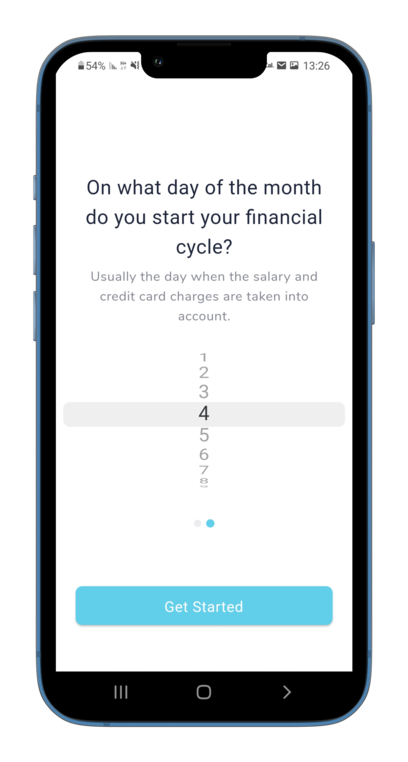
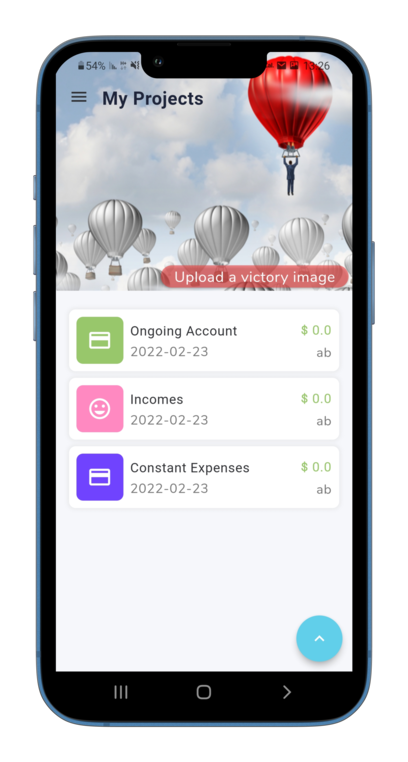
And the result would be these three projects:
- Ongoing Account
- Constant Expenses
- Incomes
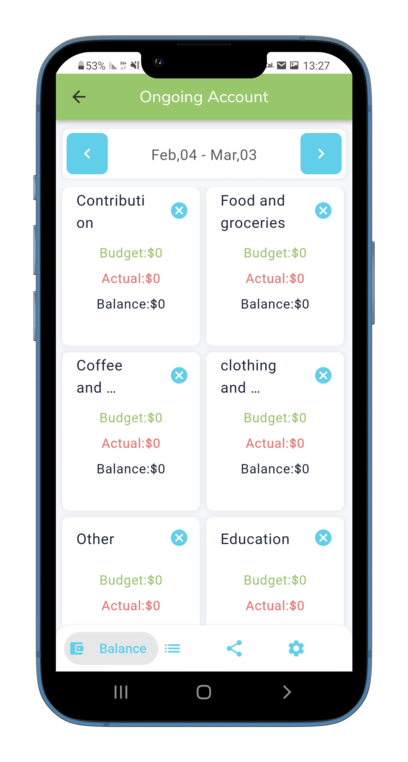
First, click on one of the projects - "Ongoing account" for example. Then,
- Click on the desired category, and the category screen will open.
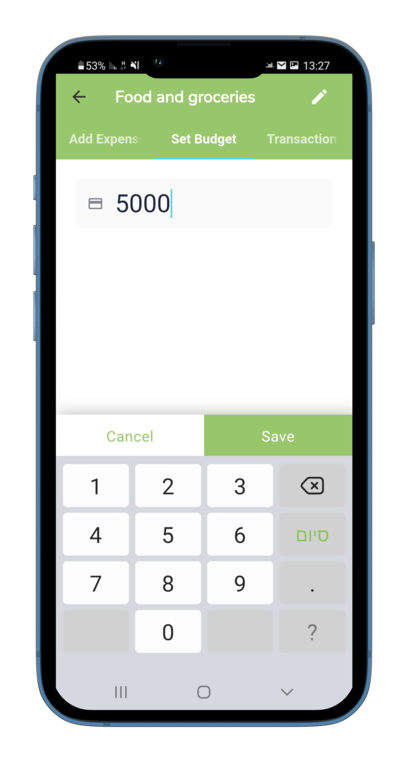
- Make sure the top menu is on status - "Set Budget".
- Fill in the amount, and save.
- Click on the desired category, and the category screen will open.
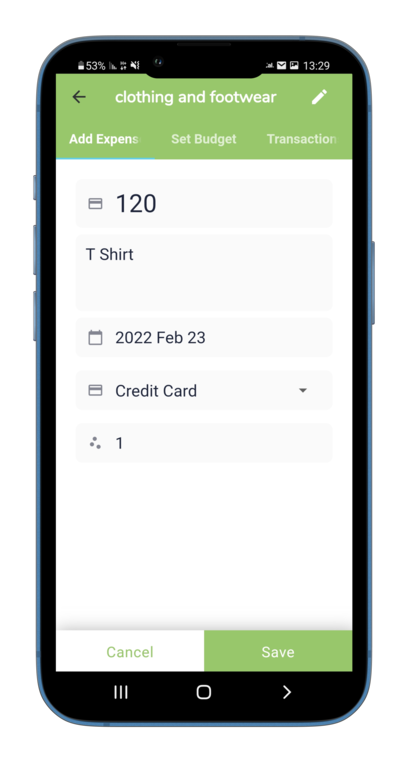
- Make sure the top menu is on status - "Add Expense".
- Fill in the amount in the appropriate field
- You can change the date, add a literal description to the expense and choose a payment method
- Click the "Save" button
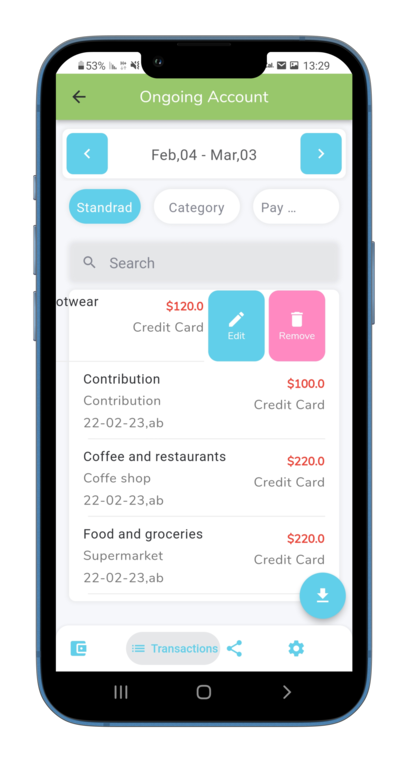
- On the project screen, in the bottom menu, select the second option - "Transactions"
- The list of transactions will be displayed, along with a search box.
- Swipe to the right, on the desired transaction.
- An "Edit" and "Delete" button will be displayed.
- Clicking Delete will immediately delete the transaction.
- Clicking Edit will open a transaction editing window.
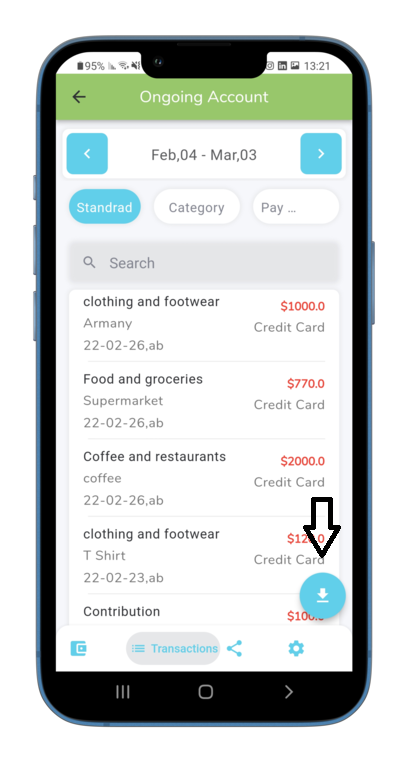
- On the project screen, in the bottom menu, select the second option - "Transactions"
- Click the round blue button at the bottom of the screen.
- Choose to send it via: email,whatsapp, etc.
Sharing a project with another person, is possible if your project permission level is "Project Manager"
- Click on the desired project
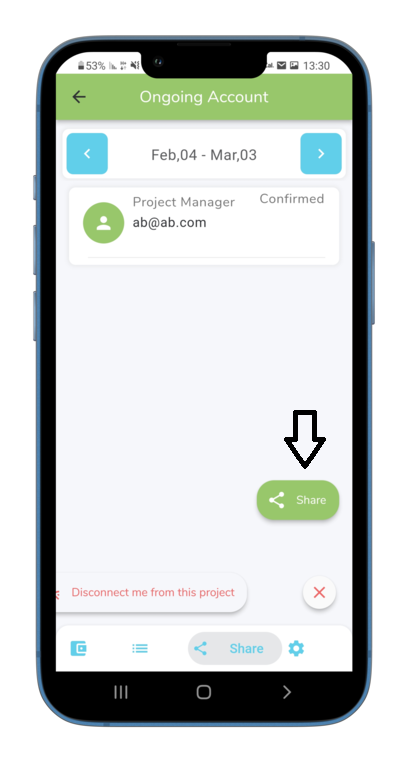
- On the project screen, click the share icon in the bottom toolbar
- Tap the round blue button at the bottom of the screen (^).
- Two buttons will apear. One of them is "Share"
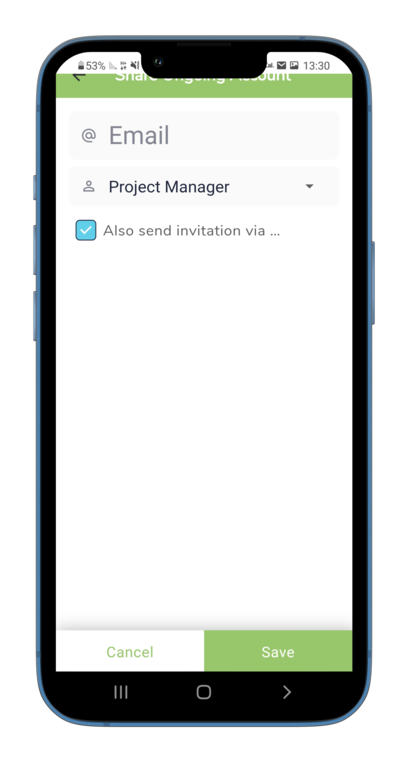
- Type in the appropriate field, the email of the user with whom you want to share the project with.
- It is important to make sure that this is the email with which the other user intends to sign up with.
A message will be sent to the user you want to share, which contains a link to the Google/Apple store.
When this person will log into the app with the email you shared with, He will see the project.
This is only possible if there is a "project manager" besides you, for this project
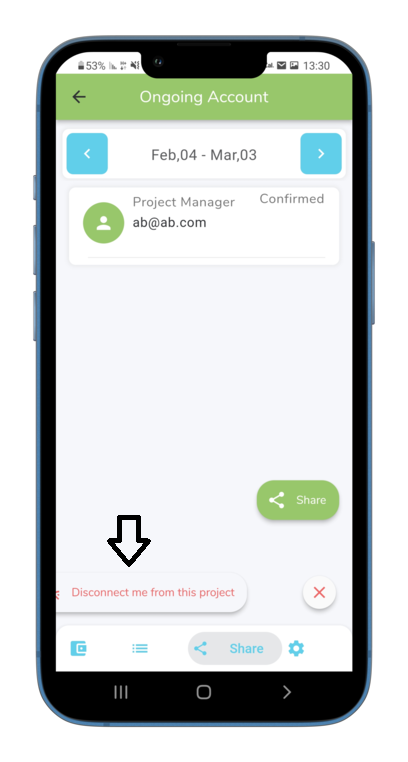
- On the project screen, in the bottom menu, select "Share".
- Tap the round blue button at the bottom of the screen (^).
- Two buttons will apear. One of them is "Disconnect me from this project"
- Click "Disconnect me from this project".
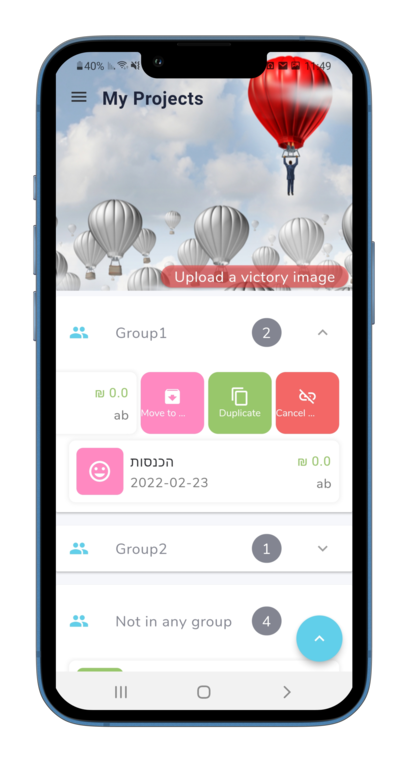
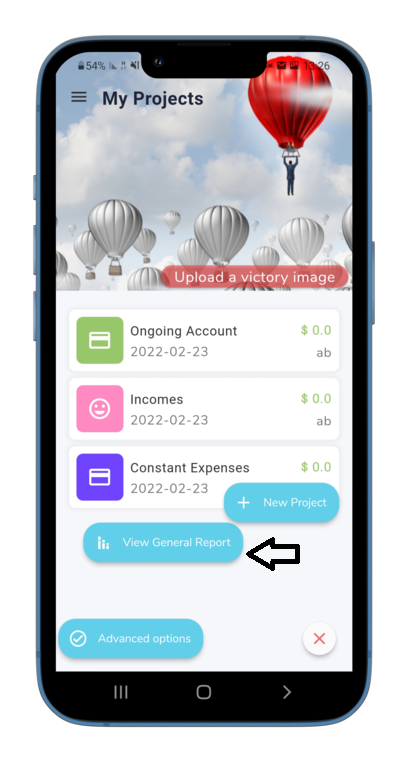
On the home screen - "My projects".
- Tap the round blue button at the bottom of the screen (^).
- Three buttons will apear. One of them is "View general report"
- Click "View general report".
- You can view previous months with the arrows in the date bar at the top
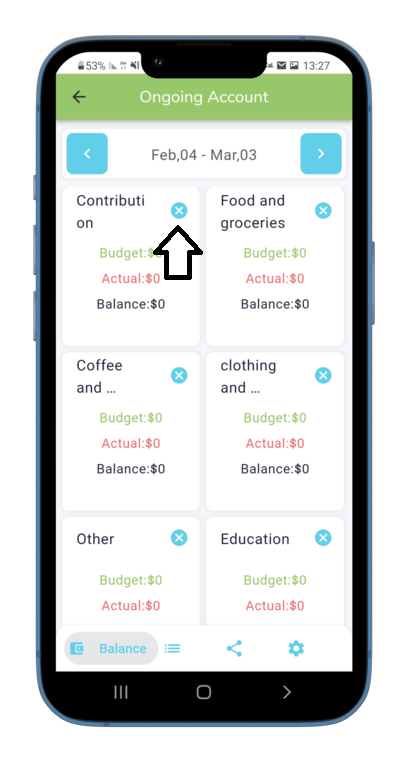
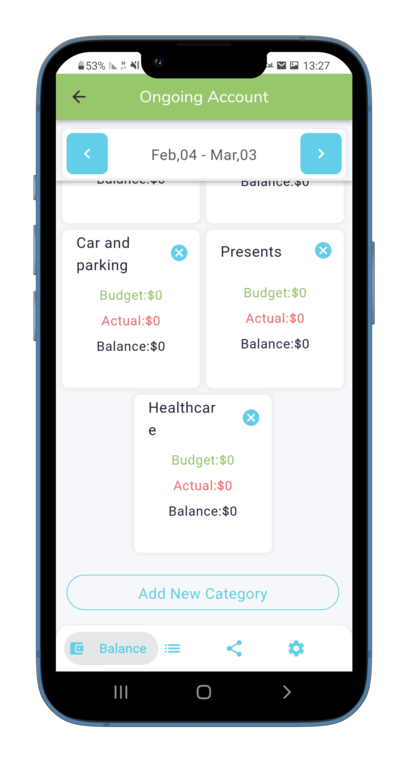
It is important to note that deletion of a category will be possible in the following cases:
- Your permission level for this project is "Project Manager"
- There are no transactions in this category
- The budget in this category is zero
If these conditions are met, an X will appear at the top of the category, clicking on the X will delete the category.
Tap the project, and view the project screen that shows all the categories.
- scroll down, while scrolling, make sure that the category you whish to add, does not already exists.
- In the end of the scrolling, you will see the "Add Category" button.
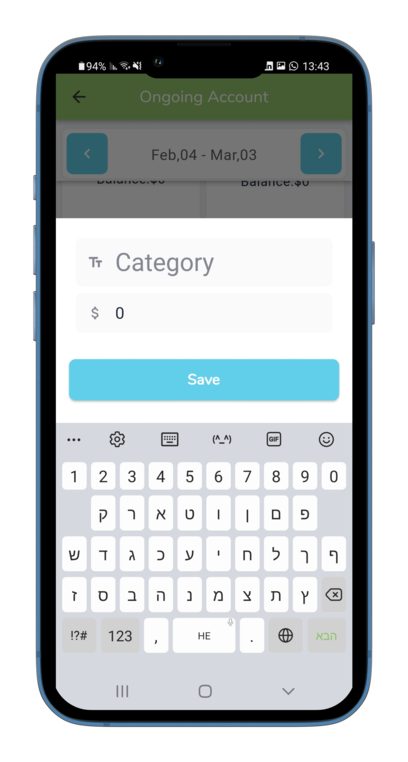
- Tap the "Add Category" button.
- Fill in the category name field, and save.
Editing a category name will be allowed, if your project permission level is "Project Manager".
- On the project screen, click on the desired category.
- Click the edit icon next to the category name caption, at the top of the screen.
- Change the name as you wish, and save.
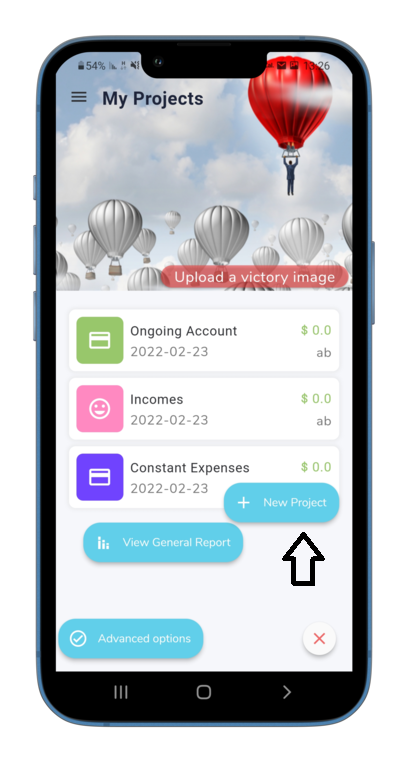
On the home screen - "My projects".
- Tap the round blue button at the bottom of the screen (^).
- Three buttons will apear. One of them is "New Project"
- Click the "New Project" button
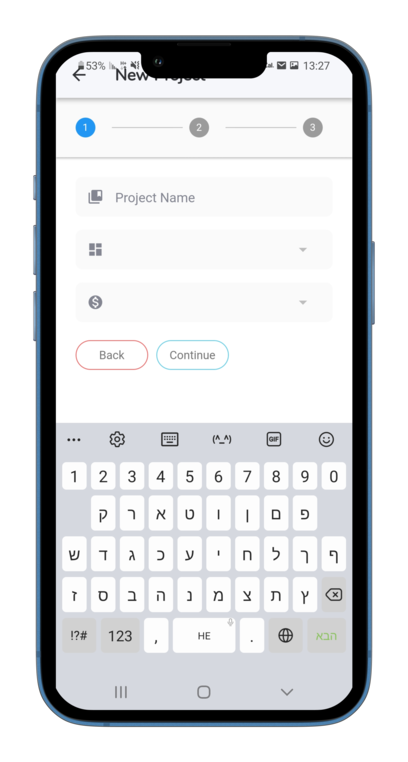
- Fill in a project name, for example - "My family ongoing".
- Choose a template from the list - Ongoing Account, House Building, Vacation, etc.
- Select a currency, for example - $
Recurring project:
If you have chosen in the project template, the following options: Ongoin Account, Constant Expenses or Income - the default will be, a Recurring project.
In this case, choose the day of the month in which the project is renewed, for example the 10th of each month
* There is an option to choose a weekly cycle. In this case you must select the day of the week in which the project is renewed.
Project with start and end dates
If you have chosen in the project template, House building a vacation or parties - the default will be, a project between range of dates.
In such cases, an estimated start and end date should be chosen.
Then, click Finish.
- On the project screen, in the bottom menu, select "Settings"
- Make the necessary changes for the project name, and click Save.
It is recommended to archive inactive projects
- On the "My Projects" screen, swipe to right, the project which you want to archive.
- then tap the "Archive" button.
Assign projects to groups - see answer to the following question
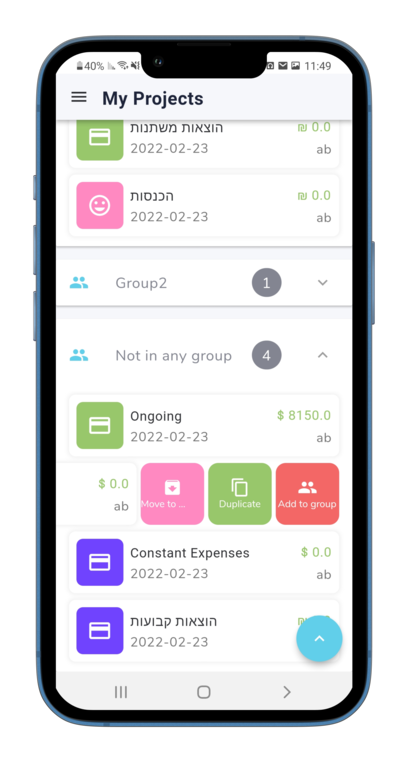
- On the "My Projects" screen, swipe to right, the the project which you want to add to a group.
- Tap the "Add to group" red button.
- The group screen will open, and will initially be blank of groups.
- Type the name of your first group in the text box at the top of the screen.
- Click "Add".
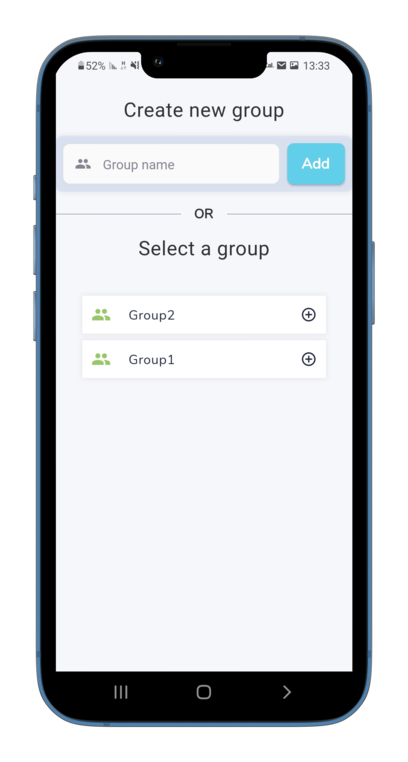
- Tap on the desired group.
- The projects associated with the group, will apear.
- Swipe to right, the the project which you want to remove from the group.
- then tap the red "Cancel group" button.